Assembling Finishing Racks
To assemble an anodizing rack, the following tools needed are:
- Hammer
- Drill Press or Drill
- Vise
- Pipe wrench.
Racks are lined up on the spline and holes are drilled through the spline for fasteners.
Line up the racks on the splines with the holes that were drilled. Some other splines have slots in the middle to use for fasteners however, slots reduce the splines ability to carry current, the overall contact between the spline and racks, and the overall ampacity of the rack.
Next the fasteners are attached. Titanium nuts and bolts may be used but here, aluminum rivets are put on the rack and spline. Rivets are far cheaper than titanium nuts and bolts but unlike the nuts and bolts, they are consumable in the anodizing process.
Once the rivets are in place, tap the rack lightly down to the spline to make sure it is lying flat. Sometime, conductive grease is used but this is not necessary and can cause contamination in the process baths.
With the racks lying flat, hammer down the rivets to secure the racks to the spline.
Next up, in most cases, a handle is added to the spline. This example shows it also being attached with a rivet but again, titanium nuts and bolts may be used or a combination of both rivets and nuts and bolts can be used.
Sometimes, depending on the parts being racks and the tank layout, splines can be bent 90 degrees to maximize the load density in the tank. A pipe wrench and a vice are used to twist the spline 90 degrees.
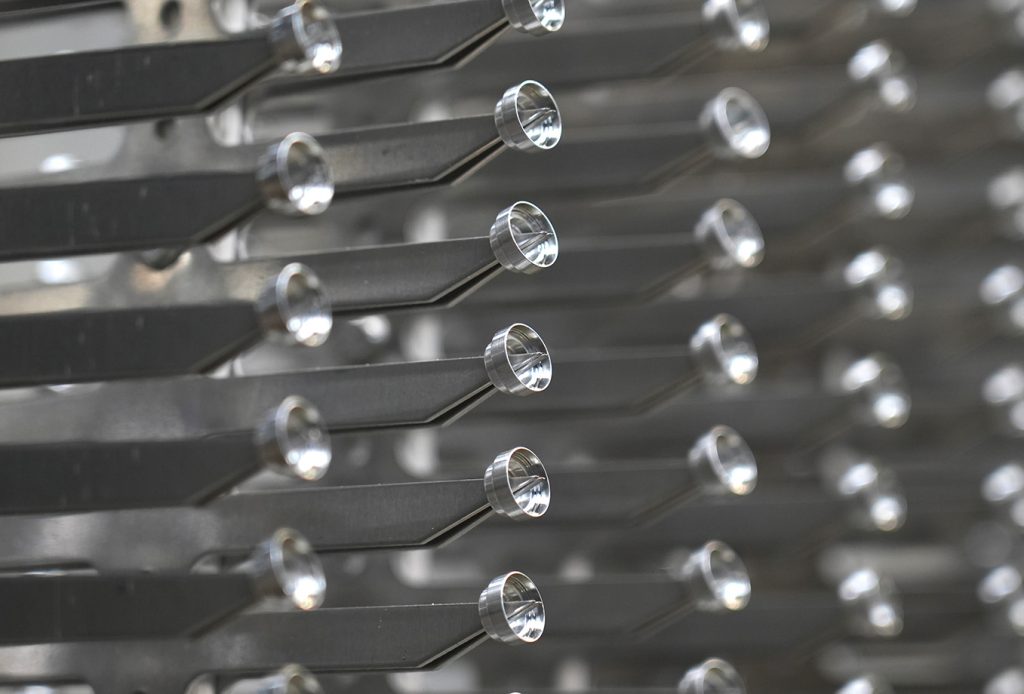
And there you have a fully assembled anodizing rack ready to process parts.